DACH
DACH
 FR-BE
FR-BE
 US-CAN

Imagine handing your child a blank page instead of a pre-filled worksheet. That simple shift turns them from a passive learner into an active creator. A learning map - where children draw a central idea and branch out with words or simple pictures - transforms how information sticks. Why? Because they built it themselves. This powerful study tool works for any topic, from reading comprehension to science facts, and it adapts to your child's natural learning style.
Start Central
Every great learning map begins with one simple shape in the middle of the page. Ask your child to draw a circle or box, then write the main topic inside. 'Plants', 'My Story', or 'The Water Cycle' - whatever you're learning about goes right there in the centre. This becomes their anchor point.
For younger children who are still building their reading skills, a simple drawing works brilliantly. A stick-figure sun can represent 'Weather', or a little house can stand for 'Where I Live'. The goal is to capture the big idea in a way that makes sense to them. Keep it simple, keep it theirs.
Branch Out
Now comes the fun part. From that central circle, draw lines radiating outward like sun rays. Each line represents a key fact, example, or step related to the main topic. Think of it as sketching a treasure map for their brain:
- Write one important idea at the end of each branch
- Use keywords rather than long sentences
- Let your child decide which facts matter most
- Add as many or as few branches as feels right
Some children love filling the page with details, whilst others prefer a clean, step-by-step approach. Both styles work perfectly. The beauty of a learning map is that it bends to fit your child's thinking style, not the other way around.
Use Visuals
Words are powerful, but pictures make learning maps truly memorable. Encourage your child to add small icons, symbols, or drawings next to their keywords. A tiny lightbulb next to 'bright ideas', a raindrop beside 'water', or a smiley face near 'happy ending' - these visual cues create extra memory hooks.
Try using two different colours to organize information. For example, blue for facts and green for opinions, or one colour for causes and another for effects. This colour-coding helps the brain sort and store information more efficiently. Keep it playful - there's no single right way to do this.
See the Big Picture
The magic happens when your child leans back and looks at their finished map. Suddenly, all those scattered ideas are connected. They can see how topics relate, spot patterns, and understand the bigger picture. That moment of clarity - the satisfied smile you saw in our comic strip - that's when learning truly clicks.
The best part? These maps are wonderfully flexible. If something doesn't make sense, your child can erase it, add a new branch, or start fresh. What works today might evolve tomorrow, and that's absolutely fine. The real win is teaching children to build their own way of organizing ideas, making every future learning session feel easier and more natural.
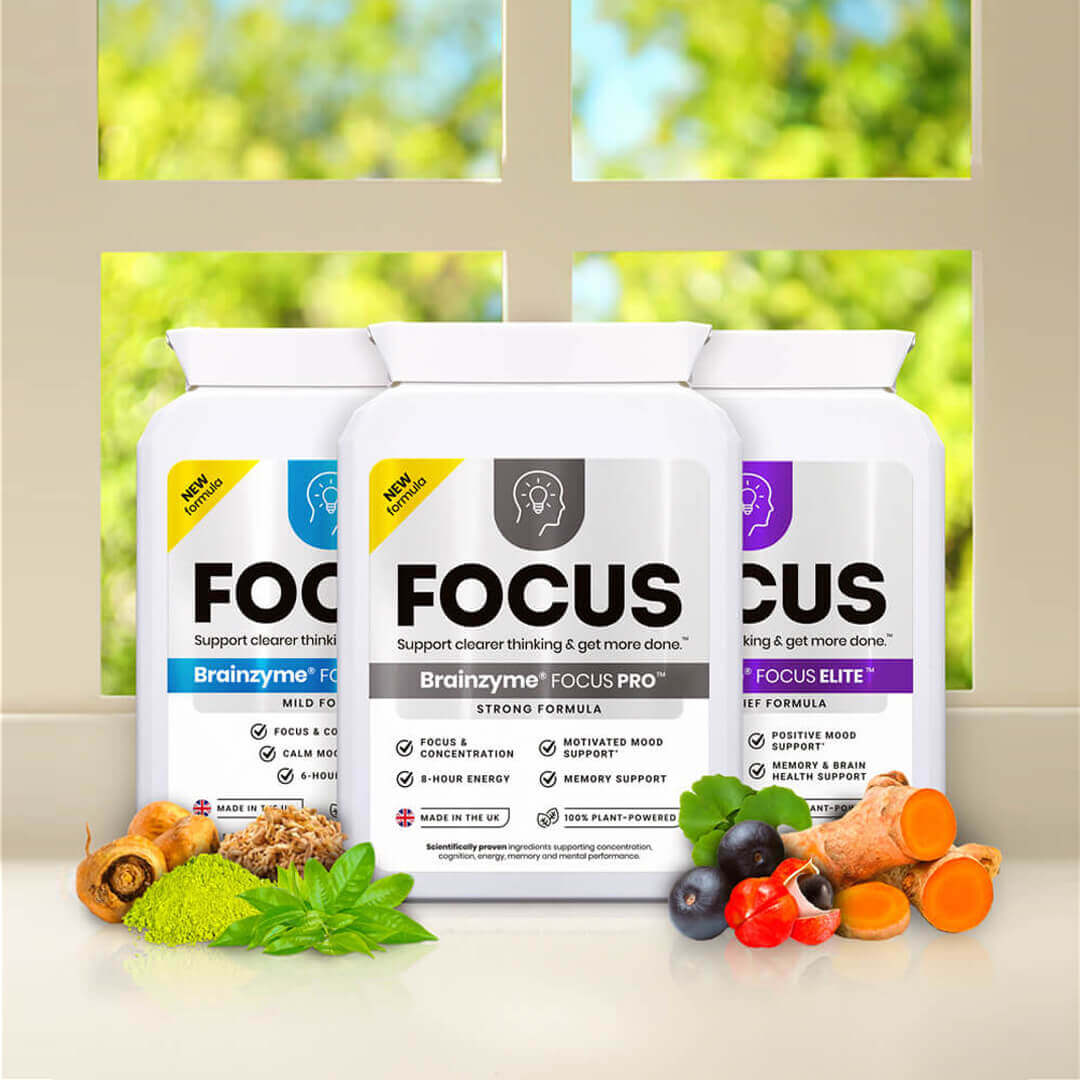
When children develop strong focus and organizational skills through tools like learning maps, they're building confidence for life. At Brainzyme, we support young learners with scientifically proven plant-powered focus supplements designed to help them stay engaged and energized during study sessions.
Discover how Brainzyme works by visiting www.brainzyme.com.